Your One-Stop Shop for Engineering, Electromechanical & Construction Tools


Your One-Stop Shop for Engineering, Electromechanical & Construction Tools
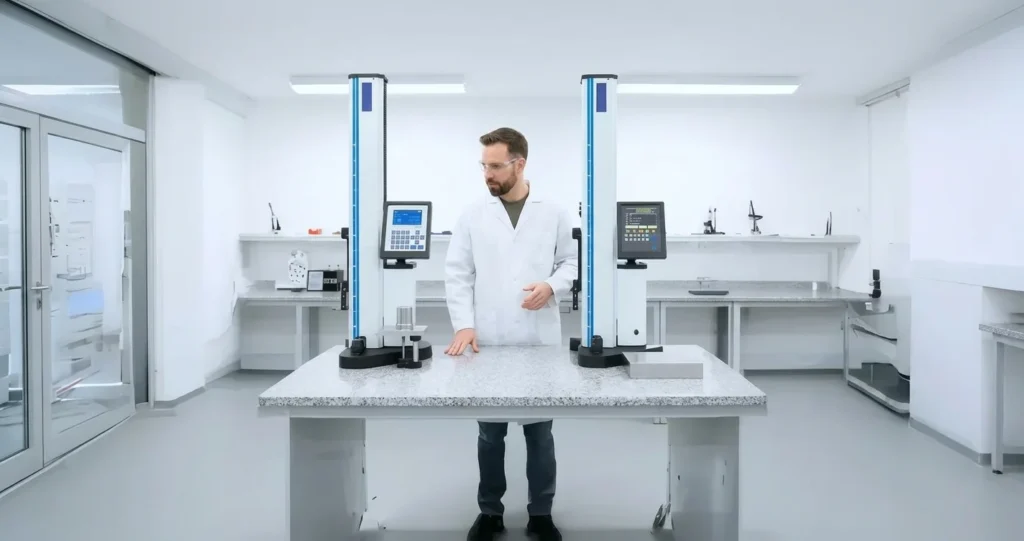
A height gage measures the vertical distance from a reference surface, usually a granite plate, to a feature on a part, and can also scribe layout lines. This guide covers height gages: types, uses & how to get the best results, including vernier, dial, digital counter and electronic models, how to use one step by step, what to check before buying and the mistakes that spoil accuracy.
A part can be machined perfectly and still fail inspection because it was measured on a dirty plate or with a gage that was never zeroed. Vertical measurement looks simple, but small habits decide whether your numbers can be trusted.
This guide covers height gages: types, uses & how to get the best results, written for machinists, inspectors and buyers who want readings they can rely on.
A height gage is a precision instrument that measures the vertical distance from a reference surface to a feature on a part. It can also scribe layout lines at a set height. It stands on a granite surface plate, and a sliding carriage on a vertical beam carries the probe or scriber.
The base is heavy so the gage stays steady. A fine adjustment screw lets you creep the carriage onto the feature, then lock it in place. Beams run from about 6 inches on small models up to 60 inches (around 1.5 m) on larger ones, and custom beams go taller.
Everything is read relative to the plate. That is why the condition of the plate matters as much as the gage itself.
Height gages come in four main types: vernier, dial, digital counter and electronic. They differ in how the reading is shown, the size range they cover and how much of the work is automated. Your choice depends on part size, tolerance and how many parts you inspect each day.
These use a main scale and a vernier scale to give fine resolution. They cover the longest ranges, from roughly 6 inches to 60 inches, and come in inch, metric or dual scales. They need no battery, but reading the scale takes a trained eye.
Dial models usually stay under 12 inches (300 mm). A needle on a mechanical dial makes the reading quick to catch, and the compact size fits in a toolbox. They suit shop floor checks on smaller parts.
These pair a dial with a counter, so you read whole units on the counter and the fine value on the dial. Their big advantage is a floating zero, which lets you set zero at any point and measure step heights directly.
Electronic gages replace the dial with an LCD and switch between inch and mm at a button press. Many send readings to SPC software over RS-232 or USB. Higher-end versions add an air cushion for smooth movement, motorised carriages and temperature compensation.
| Type | Typical Range | Best For |
|---|---|---|
| Vernier | 6 to 60 inches | Tall parts, tool rooms, no power needed |
| Dial | Under 12 inches | Quick shop floor checks |
| Digital Counter | Small to medium | Step heights and floating zero |
| Electronic | Small to large | Repeat inspection and data recording |
Height gages are used in machine shops, tool rooms and quality labs to check how tall a part feature sits and to mark accurate layout lines before machining. They work wherever a feature must be measured from a flat datum, such as a surface plate.
Common jobs include:
Automotive, aerospace, tooling and general engineering shops all rely on them for the same reason. One datum and one gage give repeatable results.
To use a height gage, clean the base and the surface plate, set zero on the plate, bring the probe to the feature with light contact, lock the carriage and read the value. Repeat the reading a couple of times. Consistent results mean the setup is sound.
Follow this order:
Never push the carriage hard against the part. Extra force bends the probe slightly and shifts the number.
Choose a height gage by matching its measuring range, resolution and accuracy to your tightest tolerance, then check the probe options and data output you need. Pick a range that covers your tallest part with some margin. A gage stretched to its limit loses accuracy.
If you are comparing models, a trusted height gage supplier can help you match range and resolution to your work.
Keep these points in view:
The most common mistakes are measuring on a dirty or damaged plate, skipping the zero check, using too much measuring force and using a worn scriber. Most bad readings come from handling, not from a faulty gage, so fixing the routine fixes most problems.
Watch for these:
Part of knowing height gages: types, uses & how to get the best results is simply building these checks into every inspection. They take seconds and save rework.
A height gage should be calibrated on a fixed schedule set by how often it is used and how tight your tolerances are. Many shops use six to twelve months. Calibrate sooner after a drop, a knock or any sign of drift against your gage blocks.
Use a lab that works to ISO/IEC 17025 so the results trace back to national standards. Keep the certificate with the gage record. It proves your measurements can be defended in an audit.
Height gages reward good habits. Pick the type that fits your parts, keep the plate and base clean, zero carefully and calibrate on schedule. That is the whole routine behind height gages: types, uses & how to get the best results.
If you need a dependable source for precision measuring tools, Al Sakeena Building Materials and Electricals Trading supplies measuring instruments, building materials and electrical products to workshops, contractors and industrial teams. Its team can help you match the right gage to your application.
Get the right height gage for your inspection work
Not sure which type, range or resolution suits your parts? Tell our team what you measure and your tolerance, and we will recommend the right height gage. You get clear advice and a straightforward quote, with no guesswork.
A height gage measures the vertical distance from a reference surface to a feature on a part. It is also used to scribe accurate layout lines before machining and to check step heights, hole positions and flatness features in inspection work.
The four main types are vernier, dial, digital counter and electronic height gages. Vernier models cover the longest ranges, dial models suit small quick checks, and electronic models add digital displays and data output.
A height gage stands on a surface plate and measures vertical heights from a datum, while a vernier caliper is held in the hand and measures outside, inside and depth dimensions. The height gage is the better tool for layout and inspection from a flat reference.
Accuracy depends on the model, its measuring range and how it is used. Longer ranges usually show a wider accuracy tolerance. Clean surfaces, correct zeroing and regular calibration keep results close to the stated specification.
Discover guides on all hardware, building materials, and electrical products for your next project.