Your One-Stop Shop for Engineering, Electromechanical & Construction Tools


Your One-Stop Shop for Engineering, Electromechanical & Construction Tools
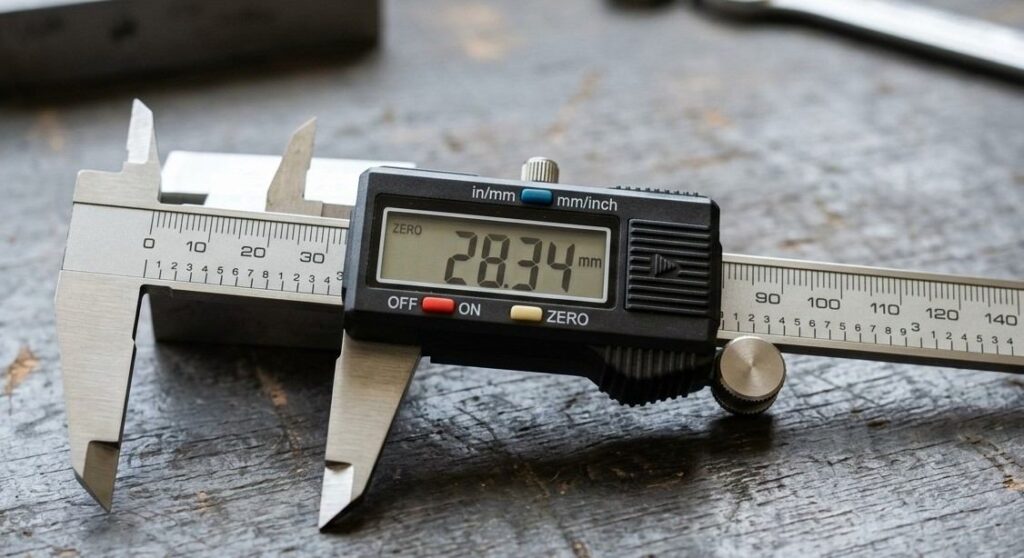
A caliper is one of those small tools that quietly decides whether a project turns out right or wrong. Whether you are checking the thickness of a metal sheet, the diameter of a bolt, or the depth of a slot, the caliper gives you accuracy a ruler simply cannot match.
Anyone who works with machining, electrical fittings, or industrial parts knows a fraction of a millimetre can be the difference between a perfect fit and a part that has to be scrapped. That is why learning solid Caliper Tips for Accurate Measurements matters before you start any serious project.
Calipers are built to measure internal, external, depth, and step dimensions with a level of detail that most other tools cannot offer. In workshops, electrical panels, and manufacturing lines, even a small measuring error can cause parts to misalign or fail to fit together properly. This is why professionals treat their caliper almost like a second pair of eyes.
A digital caliper shows the reading directly on a screen, which makes it easier for beginners to use without much training. A vernier caliper needs a bit more practice since you have to read the scale yourself, but many technicians still prefer it because it does not depend on a battery. Both tools can give you excellent results once you understand how to read and handle them correctly.
Not every caliper suits every task, so picking the right one saves time and avoids frustration later.
Matching the caliper type to your material and task is one of the simplest Caliper Tips for Accurate Measurements you can follow, and it prevents a lot of guesswork once you are already mid project.
Good measuring habits matter as much as the tool itself.
Start by cleaning the caliper jaws so dust or metal shavings do not throw off your reading. Close the jaws fully and confirm the display or scale reads zero before you begin.
When measuring, hold the caliper steady and let the jaws close around the object gently. Applying too much pressure can compress soft materials and give you a false reading, while too little pressure can let the jaws slip. For internal measurements use the upper jaws, and for external measurements use the lower jaws. Take the reading twice to confirm it, especially on parts where precision genuinely matters for the finished product.
Even experienced users fall into a few common traps that lead to unreliable numbers.
Avoiding these small errors is one of the most practical Caliper Tips for Accurate Measurements because it stops mistakes before they ever reach your final product.
A caliper that is not maintained will slowly drift away from true accuracy, and most users do not notice until a part will not fit.
Wipe the tool down after every use, keep it away from moisture, and store it in its case rather than tossing it into a toolbox with heavier equipment.
Checking calibration on a regular schedule is equally important. Using a calibration block or a known reference size helps confirm the caliper is still reading correctly. If the jaws feel loose, service the tool rather than keep using readings you cannot trust.
Digital and dial calipers both have a place in the workshop, and knowing when to reach for each one is genuinely useful.
| Feature | Digital Caliper | Dial Caliper |
|---|---|---|
| Reading Style | Screen display | Rotating needle |
| Battery Dependent | Yes | No |
| Best For | Fast repeated readings | Long-term reliability |
| Common Use | Machining and engineering | Woodworking and general shop use |
Choosing between the two often comes down to personal comfort, but both can deliver dependable results once you apply consistent Caliper Tips for Accurate Measurements during every use.
In industrial and electrical settings, tolerances are tighter and mistakes are far more costly. A slightly off measurement on a cable lug, a bracket, or a machined part can lead to rework, wasted material, or even safety concerns further down the line. Professionals rely on well maintained, properly calibrated calipers as routine quality control rather than an occasional check.
Building a habit of checking, cleaning, and calibrating your tools pays off across every project, whether it is a one time repair or a full production run.
Getting comfortable with a caliper takes patience, but the payoff is measurements you can trust. Choosing the right type, following consistent technique, avoiding common mistakes, and keeping the tool maintained will help you get precise, repeatable results on every project.
For genuine measuring tools, expert product guidance, and dependable supply support, trust Al Sakeena Building Materials and Electricals Trading. Visit our website or contact our technical sales team today for the right caliper or measuring tool for your specific application.
Discover guides on all hardware, building materials, and electrical products for your next project.